
June 25, 2025
“I used to fight with my dough every morning. Getting a real dough proofing box changed everything—and yeah, I wish I’d done it sooner.”
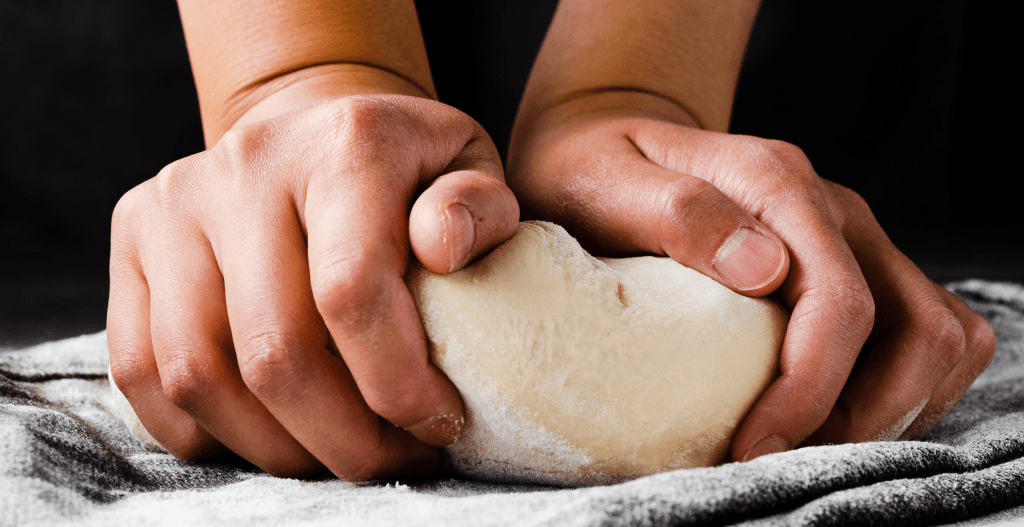
So—this is a little embarrassing—but for the first eight months of running my bakery (we’re tucked just outside Asheville, NC), I was proofing dough in a plastic tub shoved under a shelf with a heating pad taped to the side. Like, real classy setup.
And I swore it worked. “It’s warm enough,” I told myself—until one brutal February morning when my entire batch of sourdough just didn’t move. Like, it sat there looking smug. Twelve loaves. Gone. I cried. A little. Maybe a lot.
Anyway, if you’ve ever had your dough go flat, sticky, sad—or just plain not rise—you’re not alone. It’s not your recipe. It’s probably your environment. Here’s what I learned (the hard way) about how to fix it.
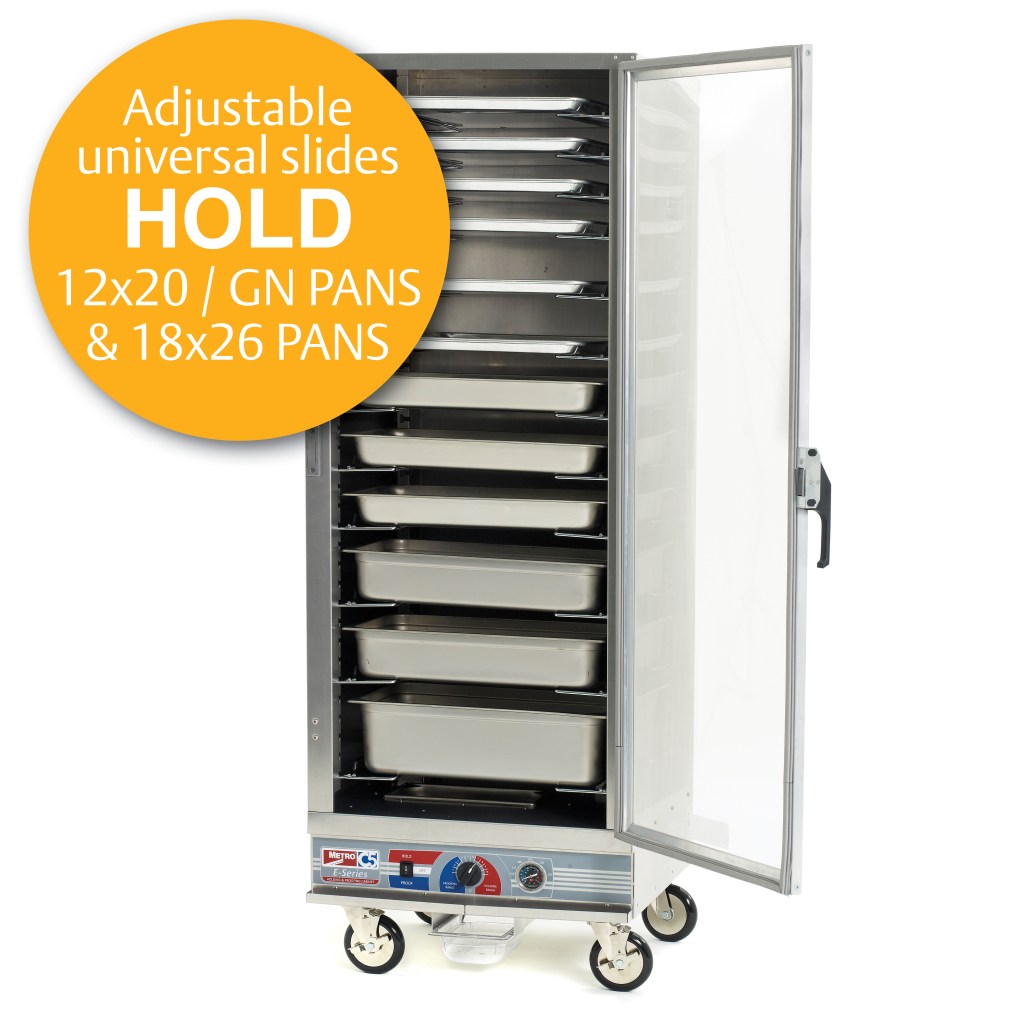
1. Okay, First—Get a Real Dough Proofing Cabinet
I know. It sounds like overkill, especially if you’re just starting out or baking from home. But listen—when I finally caved and got the METRO C5 E-Series Non-Insulated Holding and Proofing Cabinet, I swear it was like handing my dough a cozy blanket and a cup of tea.
Consistent heat. Gentle humidity. No more guessing. I could finally predict my rise times, even on those moody rainy mornings when everything used to go sideways. This thing fits 24 pans, which is plenty for a micro-bakery like mine. And the reversible door? Love it. I’ve smacked that thing open with my elbow more times than I can count mid-bake.
Lots of bakeries way bigger than mine use this exact model. But honestly, even if you’re a serious home baker, this can make your life so much easier.
2. Track the Warmest Spots in Your Kitchen (Seriously)
Before the METRO, I did this weird thing where I mapped the heat in my kitchen. Took a cheap thermometer and checked five different spots every hour. Turns out the top of my fridge was perfect at 7 a.m. but useless by noon.
Once you know your space, you can plan better—or at least stop wondering why your dough is moody.
3. Don’t Proof Near Drafts (Trust Me)
This one feels obvious, but it got me so many times. I thought my dough was just stubborn—nope. Turns out the back corner of my workspace caught a draft from the walk-in cooler next door. That tiny breeze? Killed the rise every time.
Now I use a proofing box or at least cover my bins in towels and plastic wrap like I’m tucking them into bed.

4. Warm Your Bowls, Too
Nobody talks about this, but cold metal bowls steal heat from your dough. I started pre-warming mine with hot water before mixing. Total game-changer.
You don’t need to overthink it—just don’t dump perfect 78-degree dough into a bowl that feels like it came from Antarctica.
5. Stop Watching the Clock, Start Watching the Dough
This one took the longest to learn. Every recipe says “let rise for 90 minutes,” but honestly? Some days it takes 60. Some days, two hours. I go by feel now. I do the poke test, sometimes the float test.
If your dough jiggles a bit when you tap the bowl and doesn’t snap back like a rubber band—it’s probably ready. You get better at reading it over time.
Wrapping It Up (Before the Timer Beeps Again)
If you’re struggling with rise issues, you’re not failing. You’re just missing the right environment. That’s all it is. Whether you’re baking in your apartment kitchen or hustling in a 300 sq. ft. bakery like me—getting the proofing part dialed in is the real secret.
And if you’re thinking about getting serious with your setup, that METRO cabinet? Totally worth it. I wish I’d stopped duct-taping heating pads to bins way sooner.
Now—go feed your starter. You’ve got loaves to love.

Leave a comment